Know your equipment before asking it to fly.
Start with the aircraft, not the camera
Before learning any manoeuvre, find the exact model name printed on your aircraft or inside its control app. Download the matching official user manual. Look for the aircraft diagram: it identifies arms, motors, propellers, sensors, antennas and lights. A model that looks similar in a promotional photo may have different operating limits. When you can point to each important part on your own aircraft, the warnings in the manual begin to make sense.
Inspect the frame without switching the aircraft on. Check for cracks, loose arms, bent landing supports and objects caught near moving components. If you notice damage after a bump, stop rather than assuming the aircraft is fine because its camera still starts.
Propellers, motors and power
Propellers produce thrust, and they are among the parts most likely to be damaged in transport or a minor landing. Look for chips, splits, deformation and incorrect attachment. Some aircraft use different propellers or attachment positions; follow the model-specific instructions instead of relying on colour alone. Keep fingers, hair, straps and loose clothing away from the propeller arc.
A flight battery is a power source with handling rules, not simply a percentage on a screen. Check the manufacturer’s instructions for charging, storage, temperature, transport and signs of damage or swelling. Never improvise a repair on a damaged flight battery. The displayed remaining percentage can change quickly when the aircraft is under load or facing strong wind.
Controller, positioning and sensing
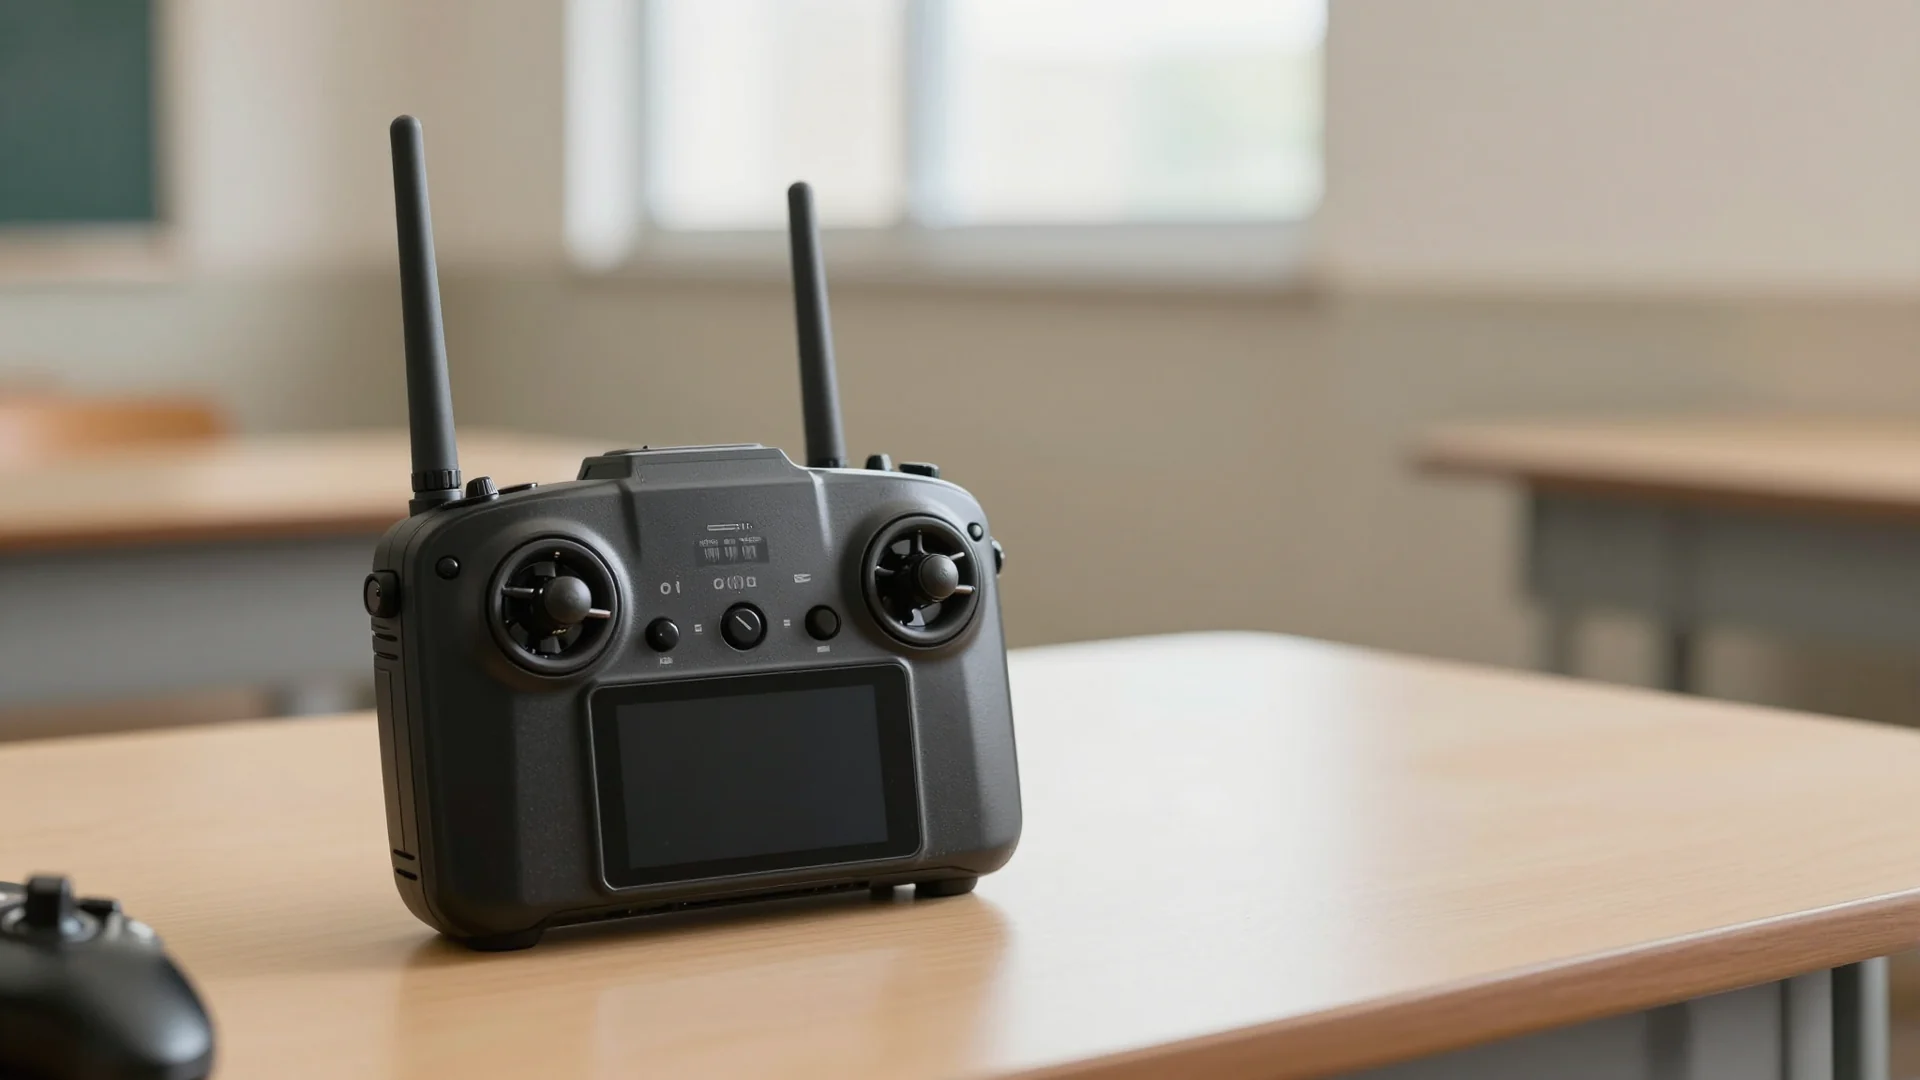
Your controller transmits pilot commands and displays important status information. Learn where it shows connection quality, battery level, navigation mode, warnings and return-to-home information. Do this while the aircraft is safely powered down or in an approved training setting. Different manufacturers reverse or customise certain controls; check the actual configuration before a flight.
Satellite positioning and obstacle sensing can assist a flight, but neither makes it automatic or collision-proof. Thin branches, cables, low light, reflections and featureless surfaces may defeat sensors. A beginner should still maintain direct visual awareness of the aircraft and its environment, as required by the applicable local rules.
Build your own equipment card
Write down five details: manufacturer and model, take-off weight including accessories, battery type, controller model, and where to find the latest manual. Add a photograph showing the aircraft from above and below. This small record helps you choose compatible training and makes it easier to ask a provider a precise question.
Finish by explaining what each status warning means and where you would check it. If you cannot recognise a warning or locate the emergency procedure, your next task is reading the manual—not launching the drone.
Quick recap
- Start with the aircraft, not the camera
- Propellers, motors and power
- Controller, positioning and sensing
- Build your own equipment card
Frequently asked questions
Do these guides authorise me to fly?
No. They are educational articles, not a licence, permit or location-specific clearance. Check the applicable regulator and permissions.
Can I rely on an academy’s promotional claims?
Treat prices, approvals and course outcomes as claims to verify against current provider terms and primary sources.
What should I do when details have changed?
Follow the latest official guidance and request a dated correction with a source link.
Authoritative sources and next reading
- CAAM UAS official guidance
- CAAS flight requirements
- Manufacturer model-specific flight manual: to be added only once the model has been chosen and source verified.
Sources and further reading
- CAAM ↗
Consult the provider or regulator for current details.
- CAAS ↗
Consult the provider or regulator for current details.
Check the original document for its scope, date and current status.
Something needs a closer look?
Suggest a correction